
Installing an electric vehicle charging station requires advanced electrical skills. Each manufacturer provides a specific installation guide, but some steps remain universal.
In this article, we detail the main steps to follow for an optimal and secure installation of a home charging station.
1. Create a dedicated power line to the charging station
To ensure faster charging and avoid the risk of electrical overload, it's essential to create a dedicated line. This also helps secure your home network and prevent unexpected power outages.
Before starting work, it is essential to analyze your electrical installation and adapt your subscription with your electricity supplier if necessary. Also remember to check the compatibility of the terminal with your installation.
💡Good to know: A minimum subscribed power of 9 kVa is recommended for a 7 kW terminal, to allow simultaneous charging of the vehicle and the use of household appliances.
It is strongly recommended to use an IRVE-certified electrician to ensure compliance with current standards and to benefit from possible financial assistance.
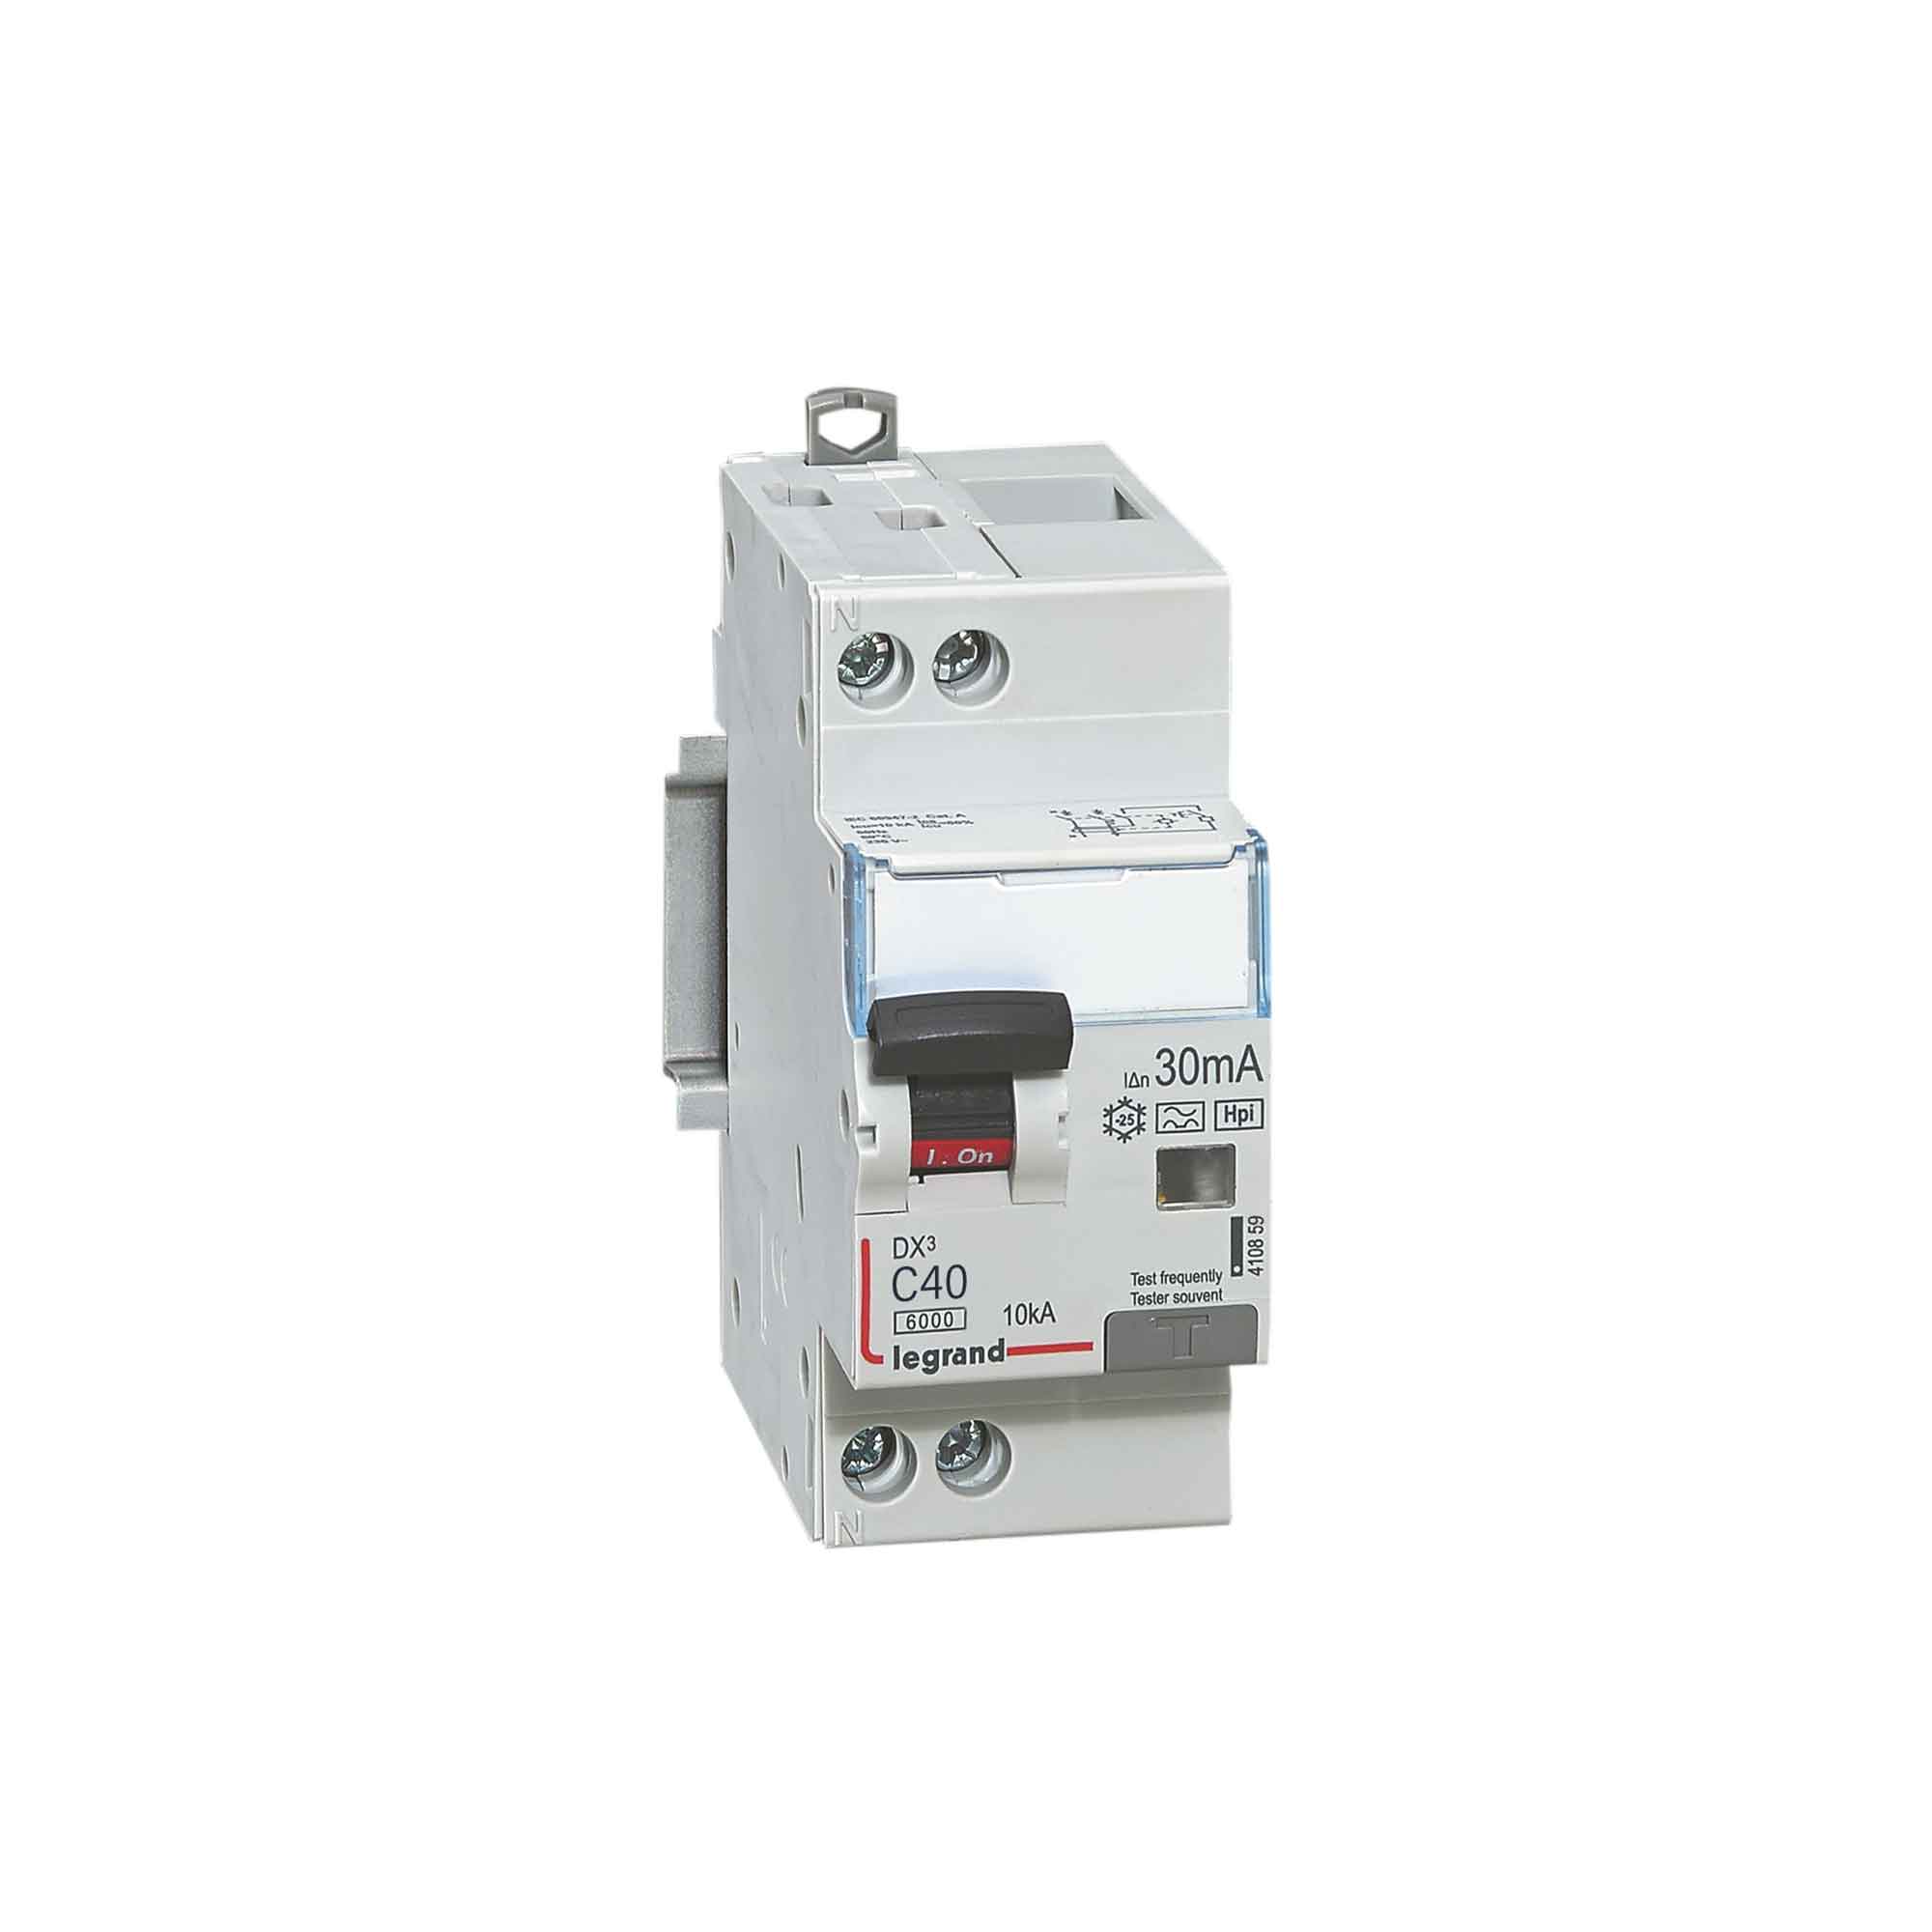
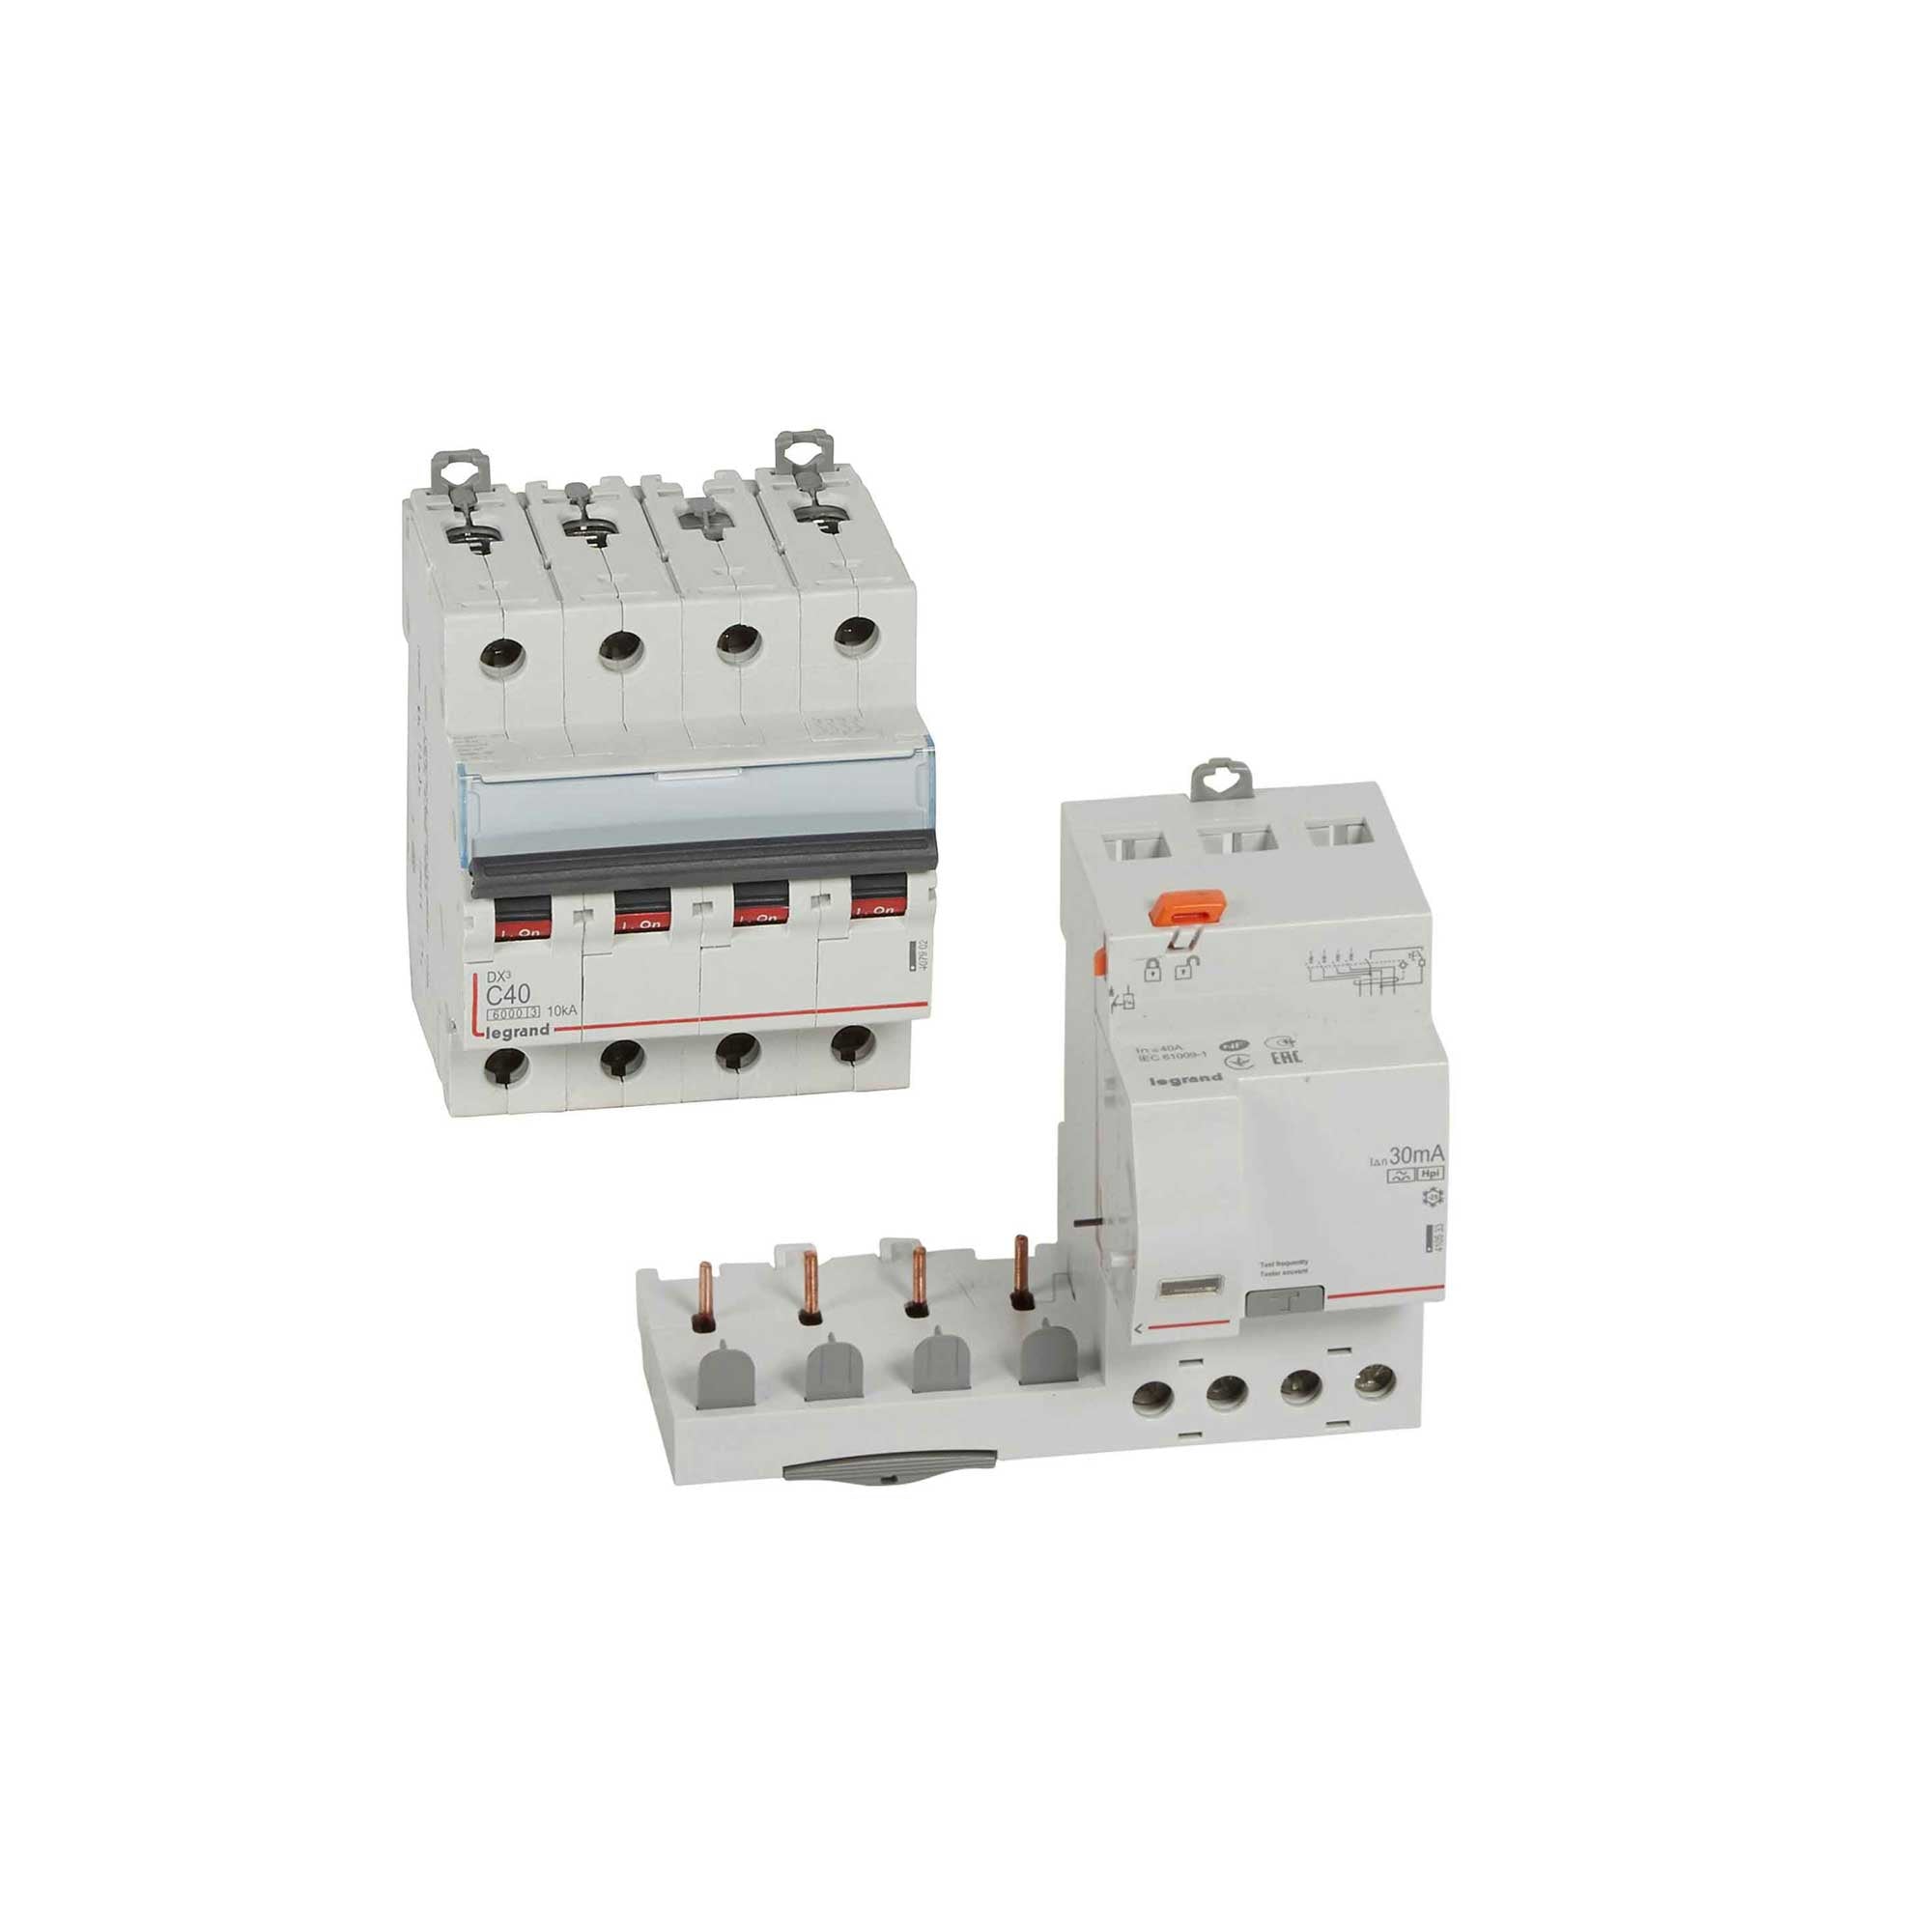
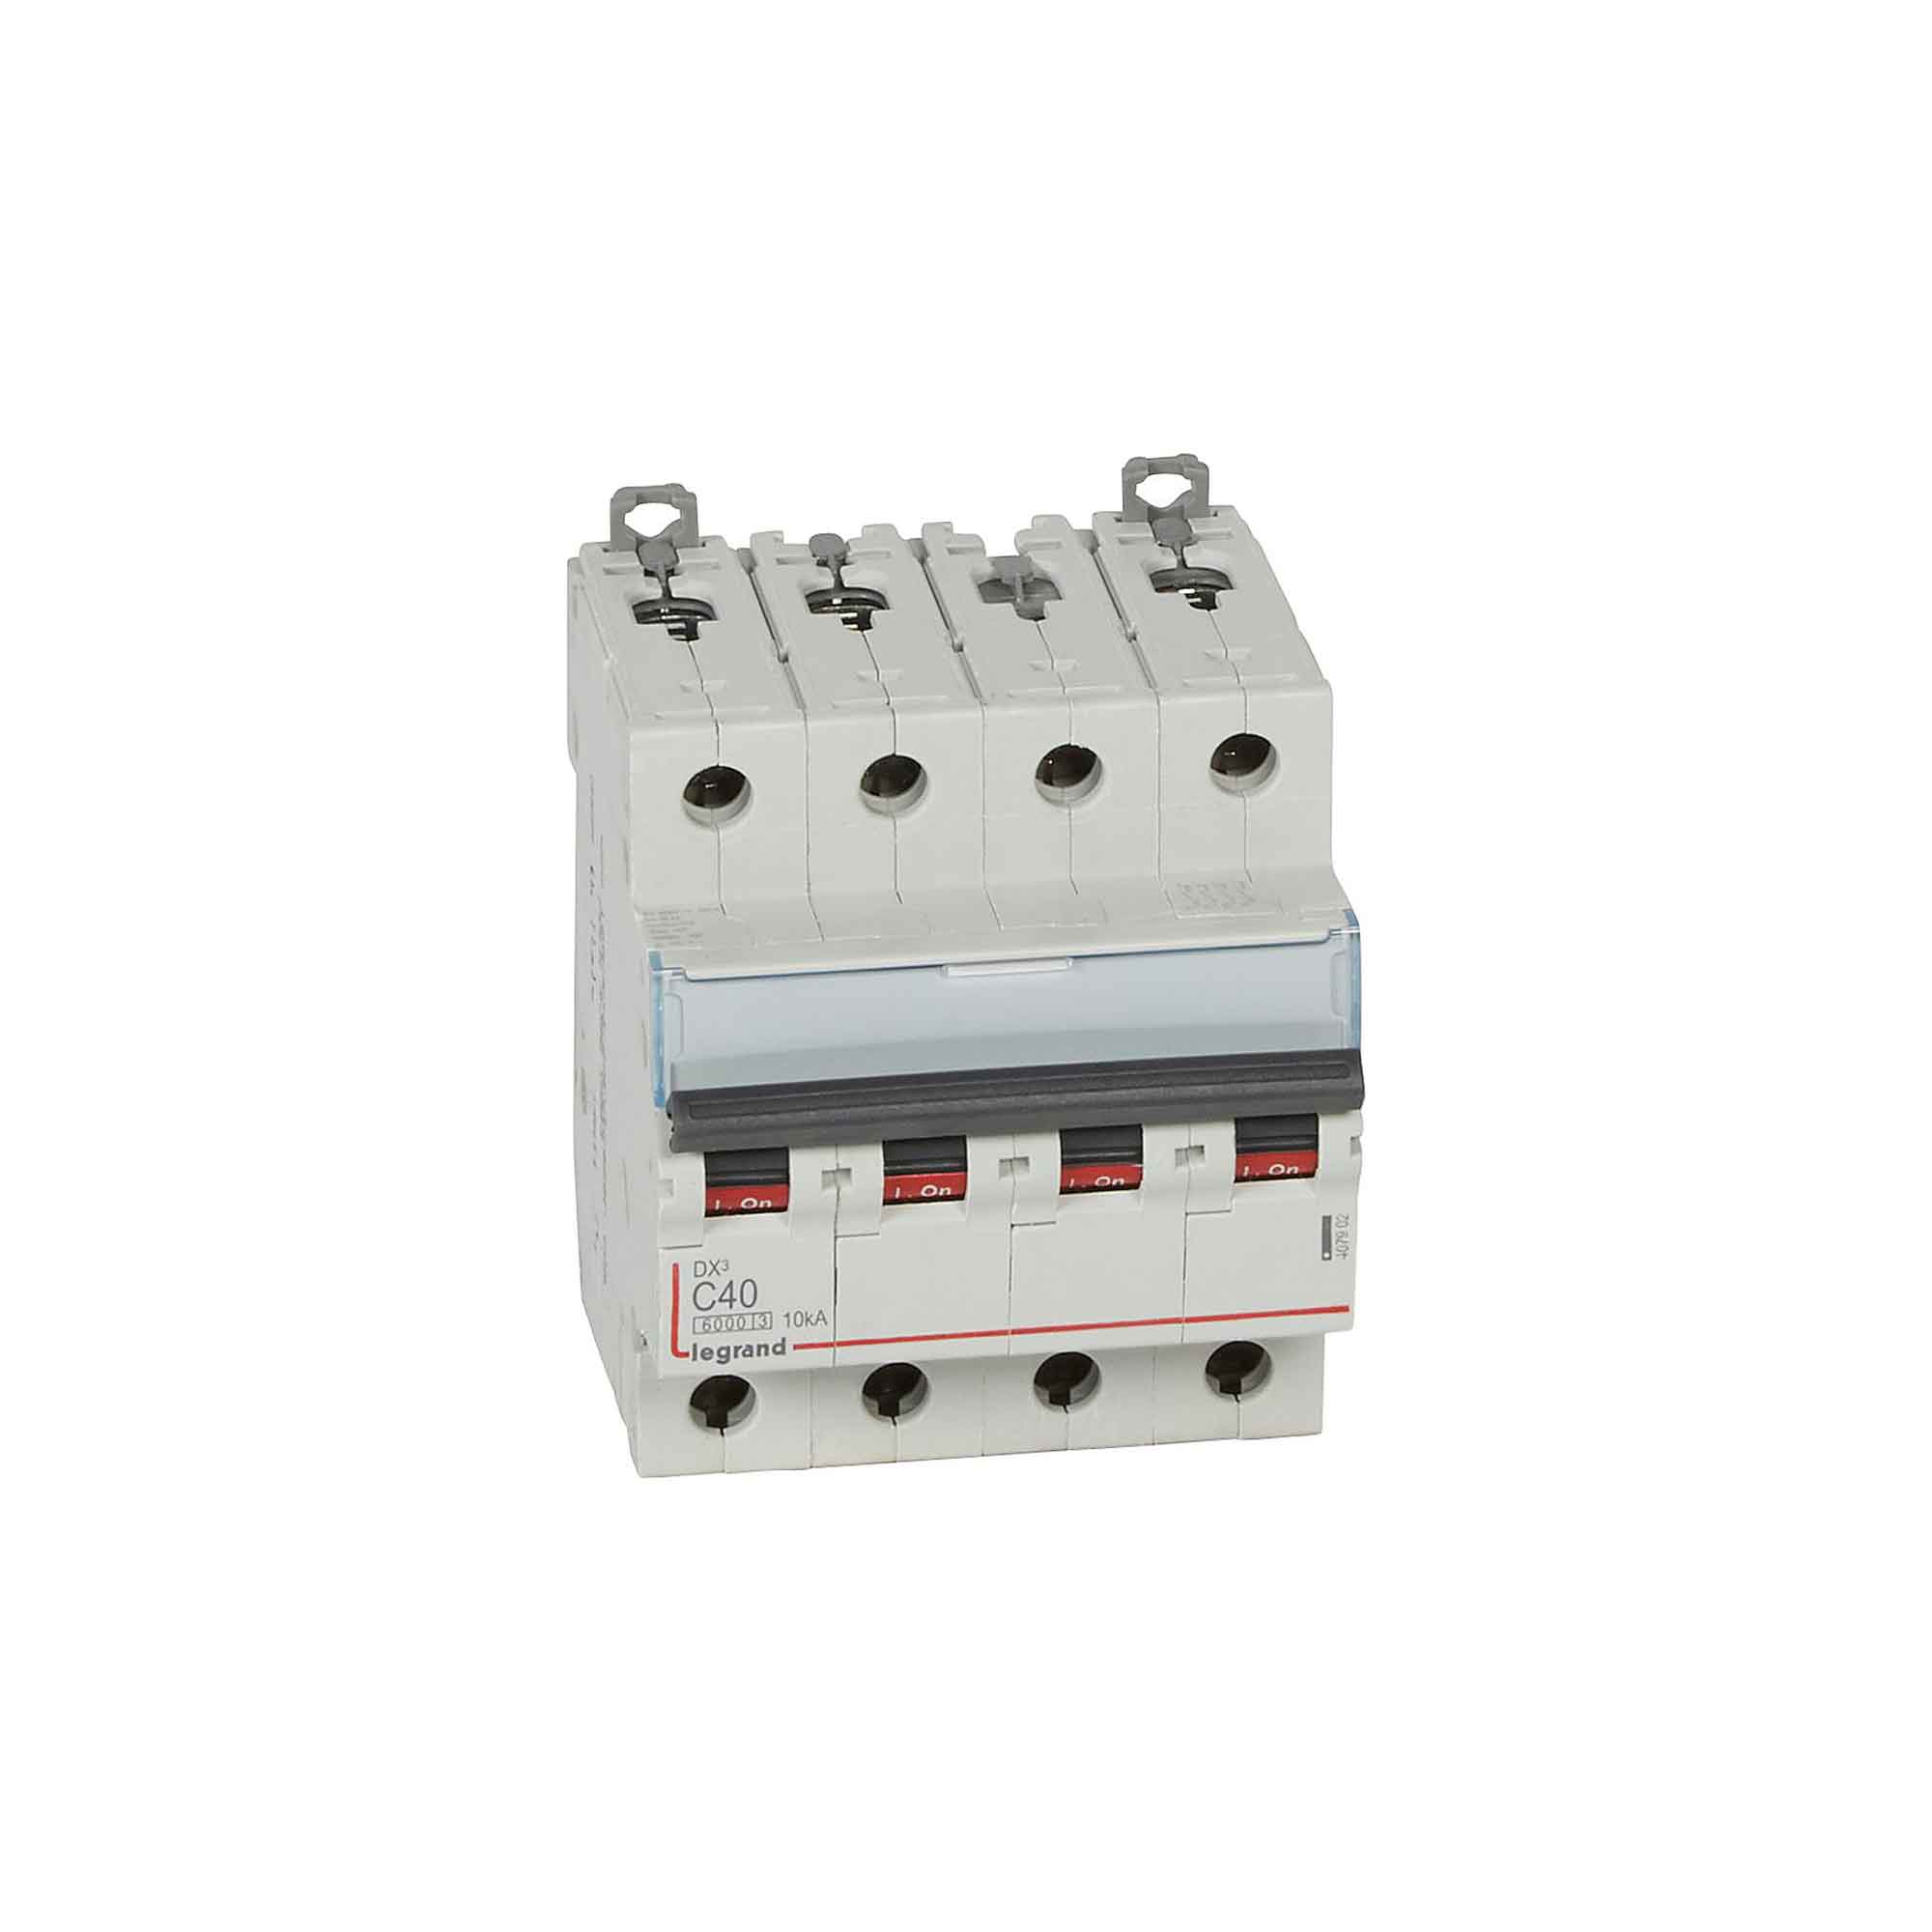
→ Electrical diagram of a charging station
- Add a dedicated differential circuit breaker to the power line that will be used for the terminal.
- Use a cable with a minimum cross-section of 10 mm² (refer to the manufacturer's guide to follow specific recommendations).

💡Good to know: There are specific electrical protections for single-phase and three-phase terminals. Compatible with all recent electrical panels, they ensure a reliable and secure electrical circuit, thus reducing the risk of overvoltage or short circuits during charging.
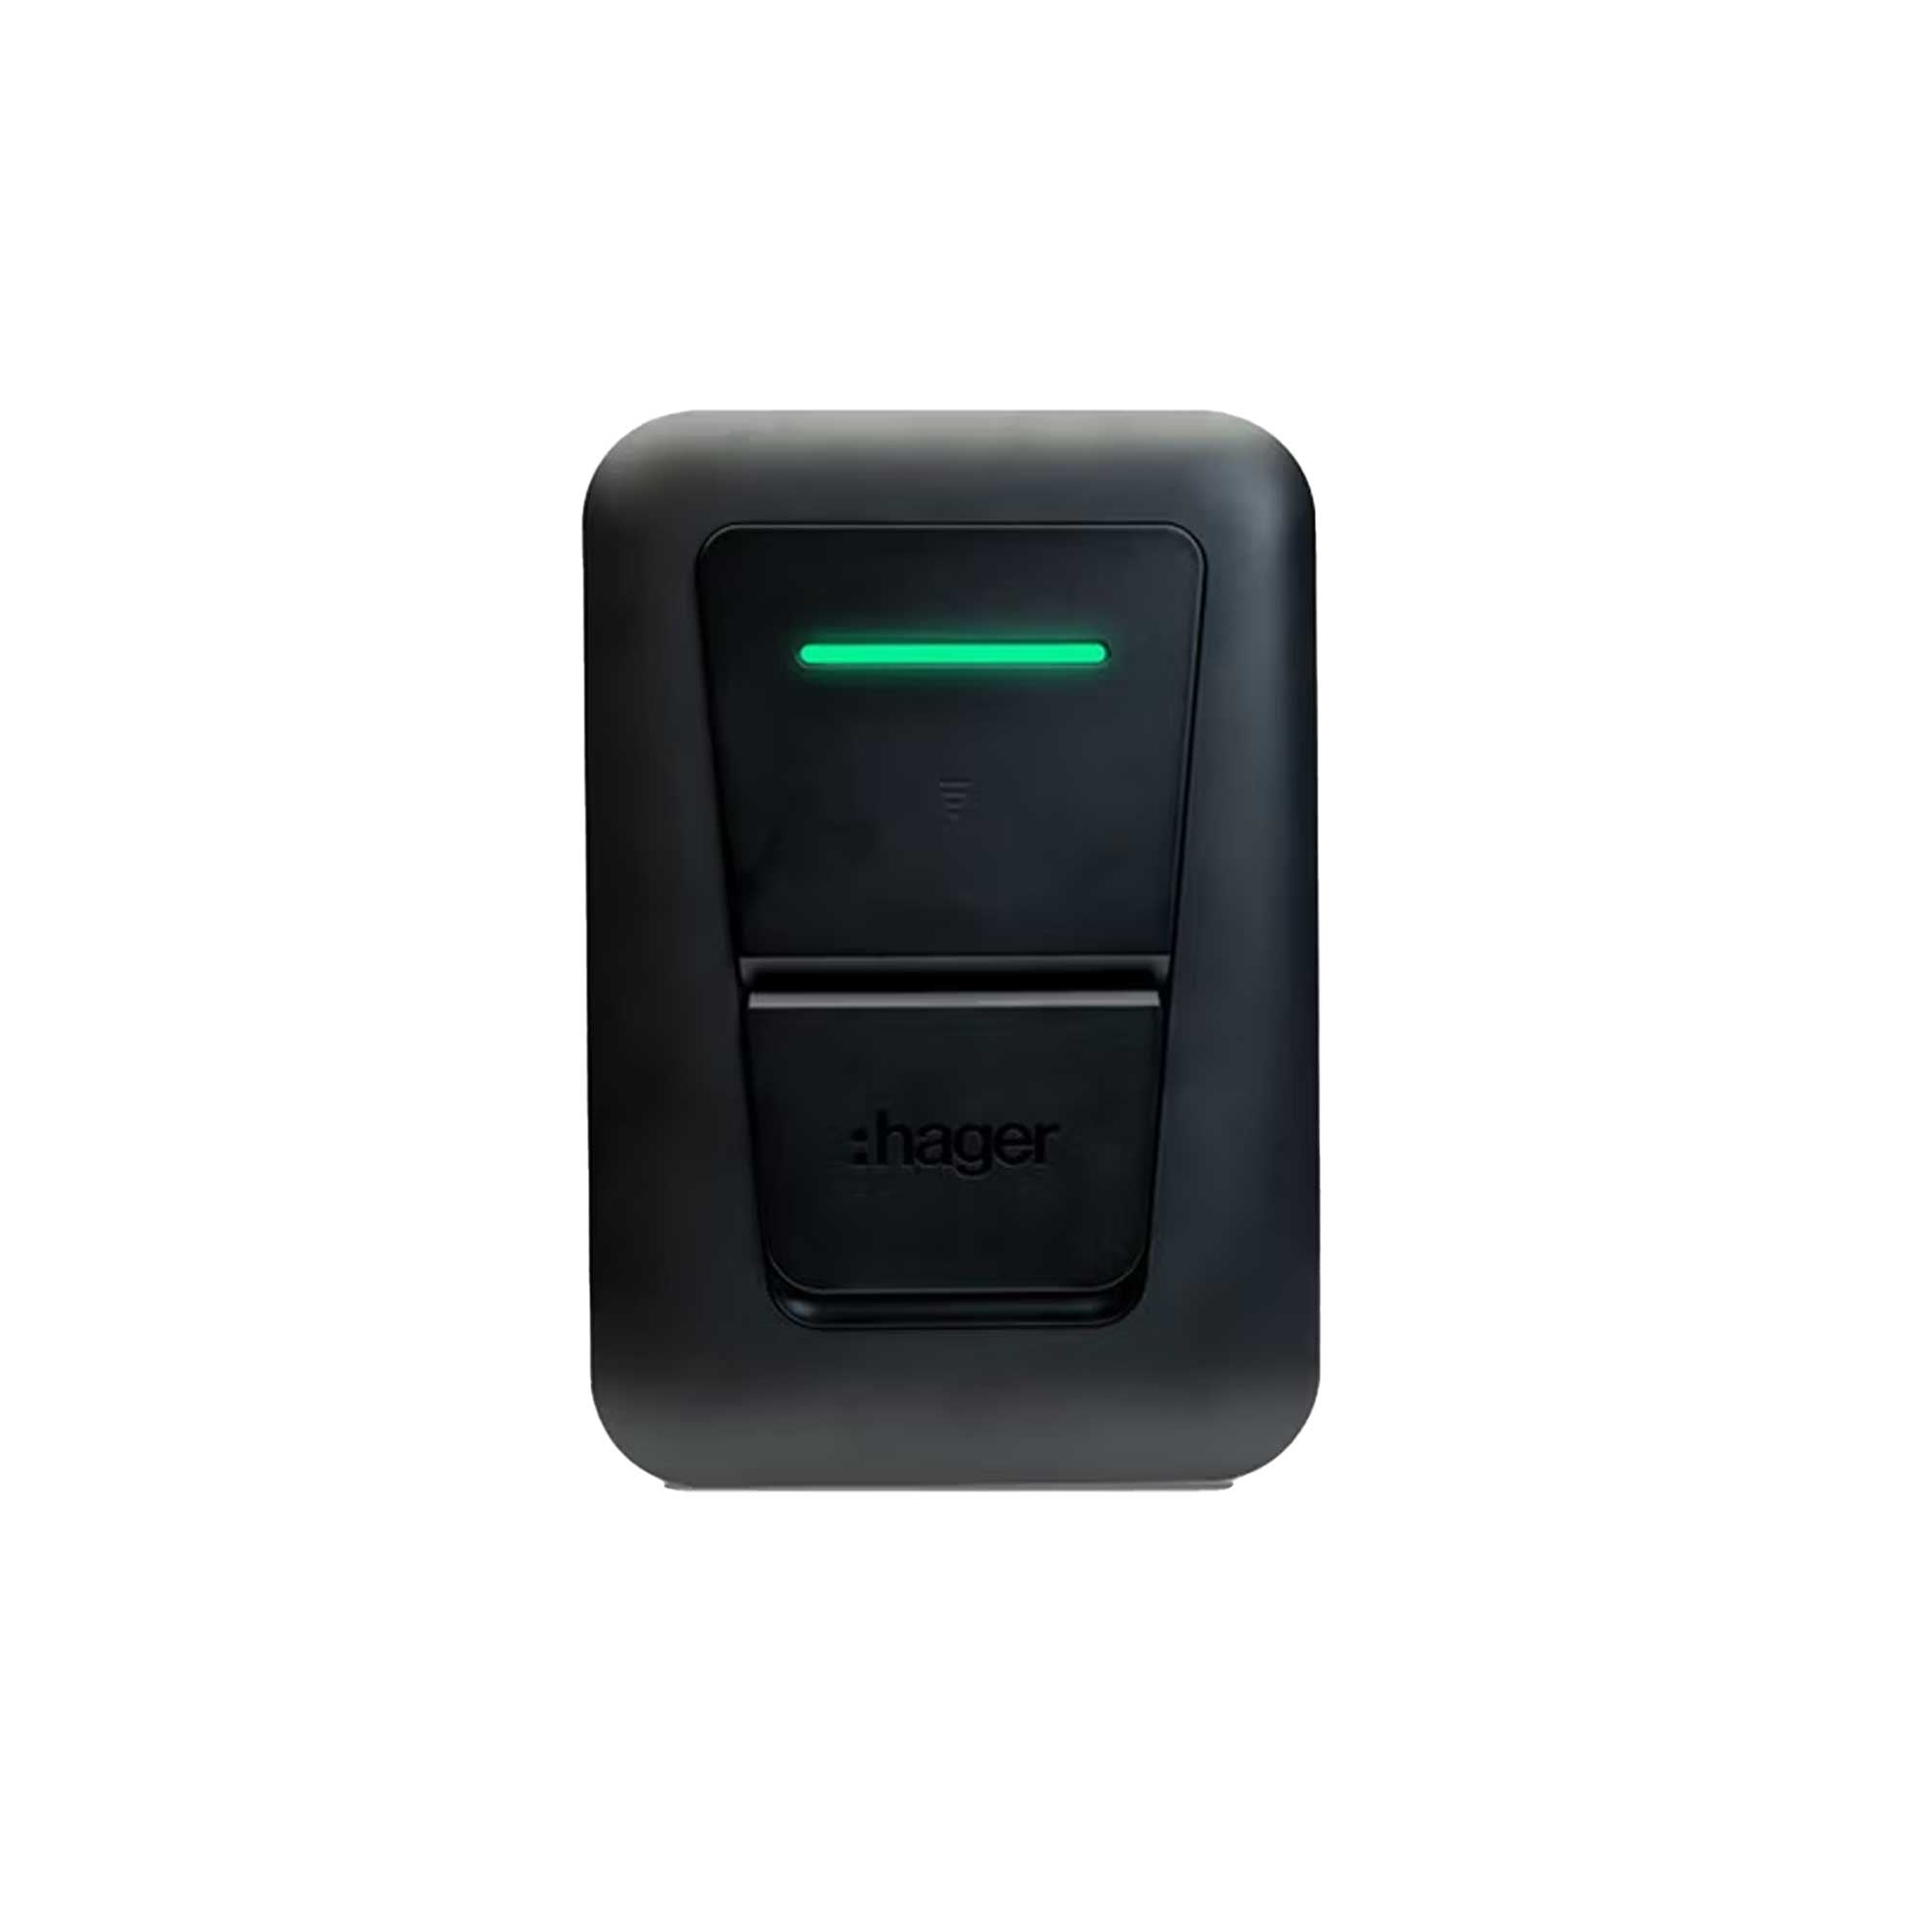
2. Install the charging station
The terminal can be mounted on a wall or a dedicated stand. For outdoor installation, choose a model with a minimum IP54 rating and consider a weatherproof roof.
Installation steps:
- Fix the terminal approximately 1.20 meters from the ground. If you have a drilling template, prepare the holes to screw the back panel of the terminal into.
- Connect the electrical cable to the terminal (some terminals offer multiple entries to facilitate installation).
- Adjust the power of the terminal according to the maximum capacity of your electrical installation.
💡 Good to know: A three-phase terminal can be configured for a single-phase installation, allowing a maximum power of 7.4 kW on a single phase.

3. Connect the terminal to the mobile application
Many terminals have a mobile application.
To access certain features, follow the login steps in your terminal's mobile app. Once the terminal is identified, you will be able to access the following features, for example:
- monitoring of electricity consumption
- enable/disable remote charging
- control the maximum charging power
- schedule charging during off-peak hours
- configure access only to certain users.
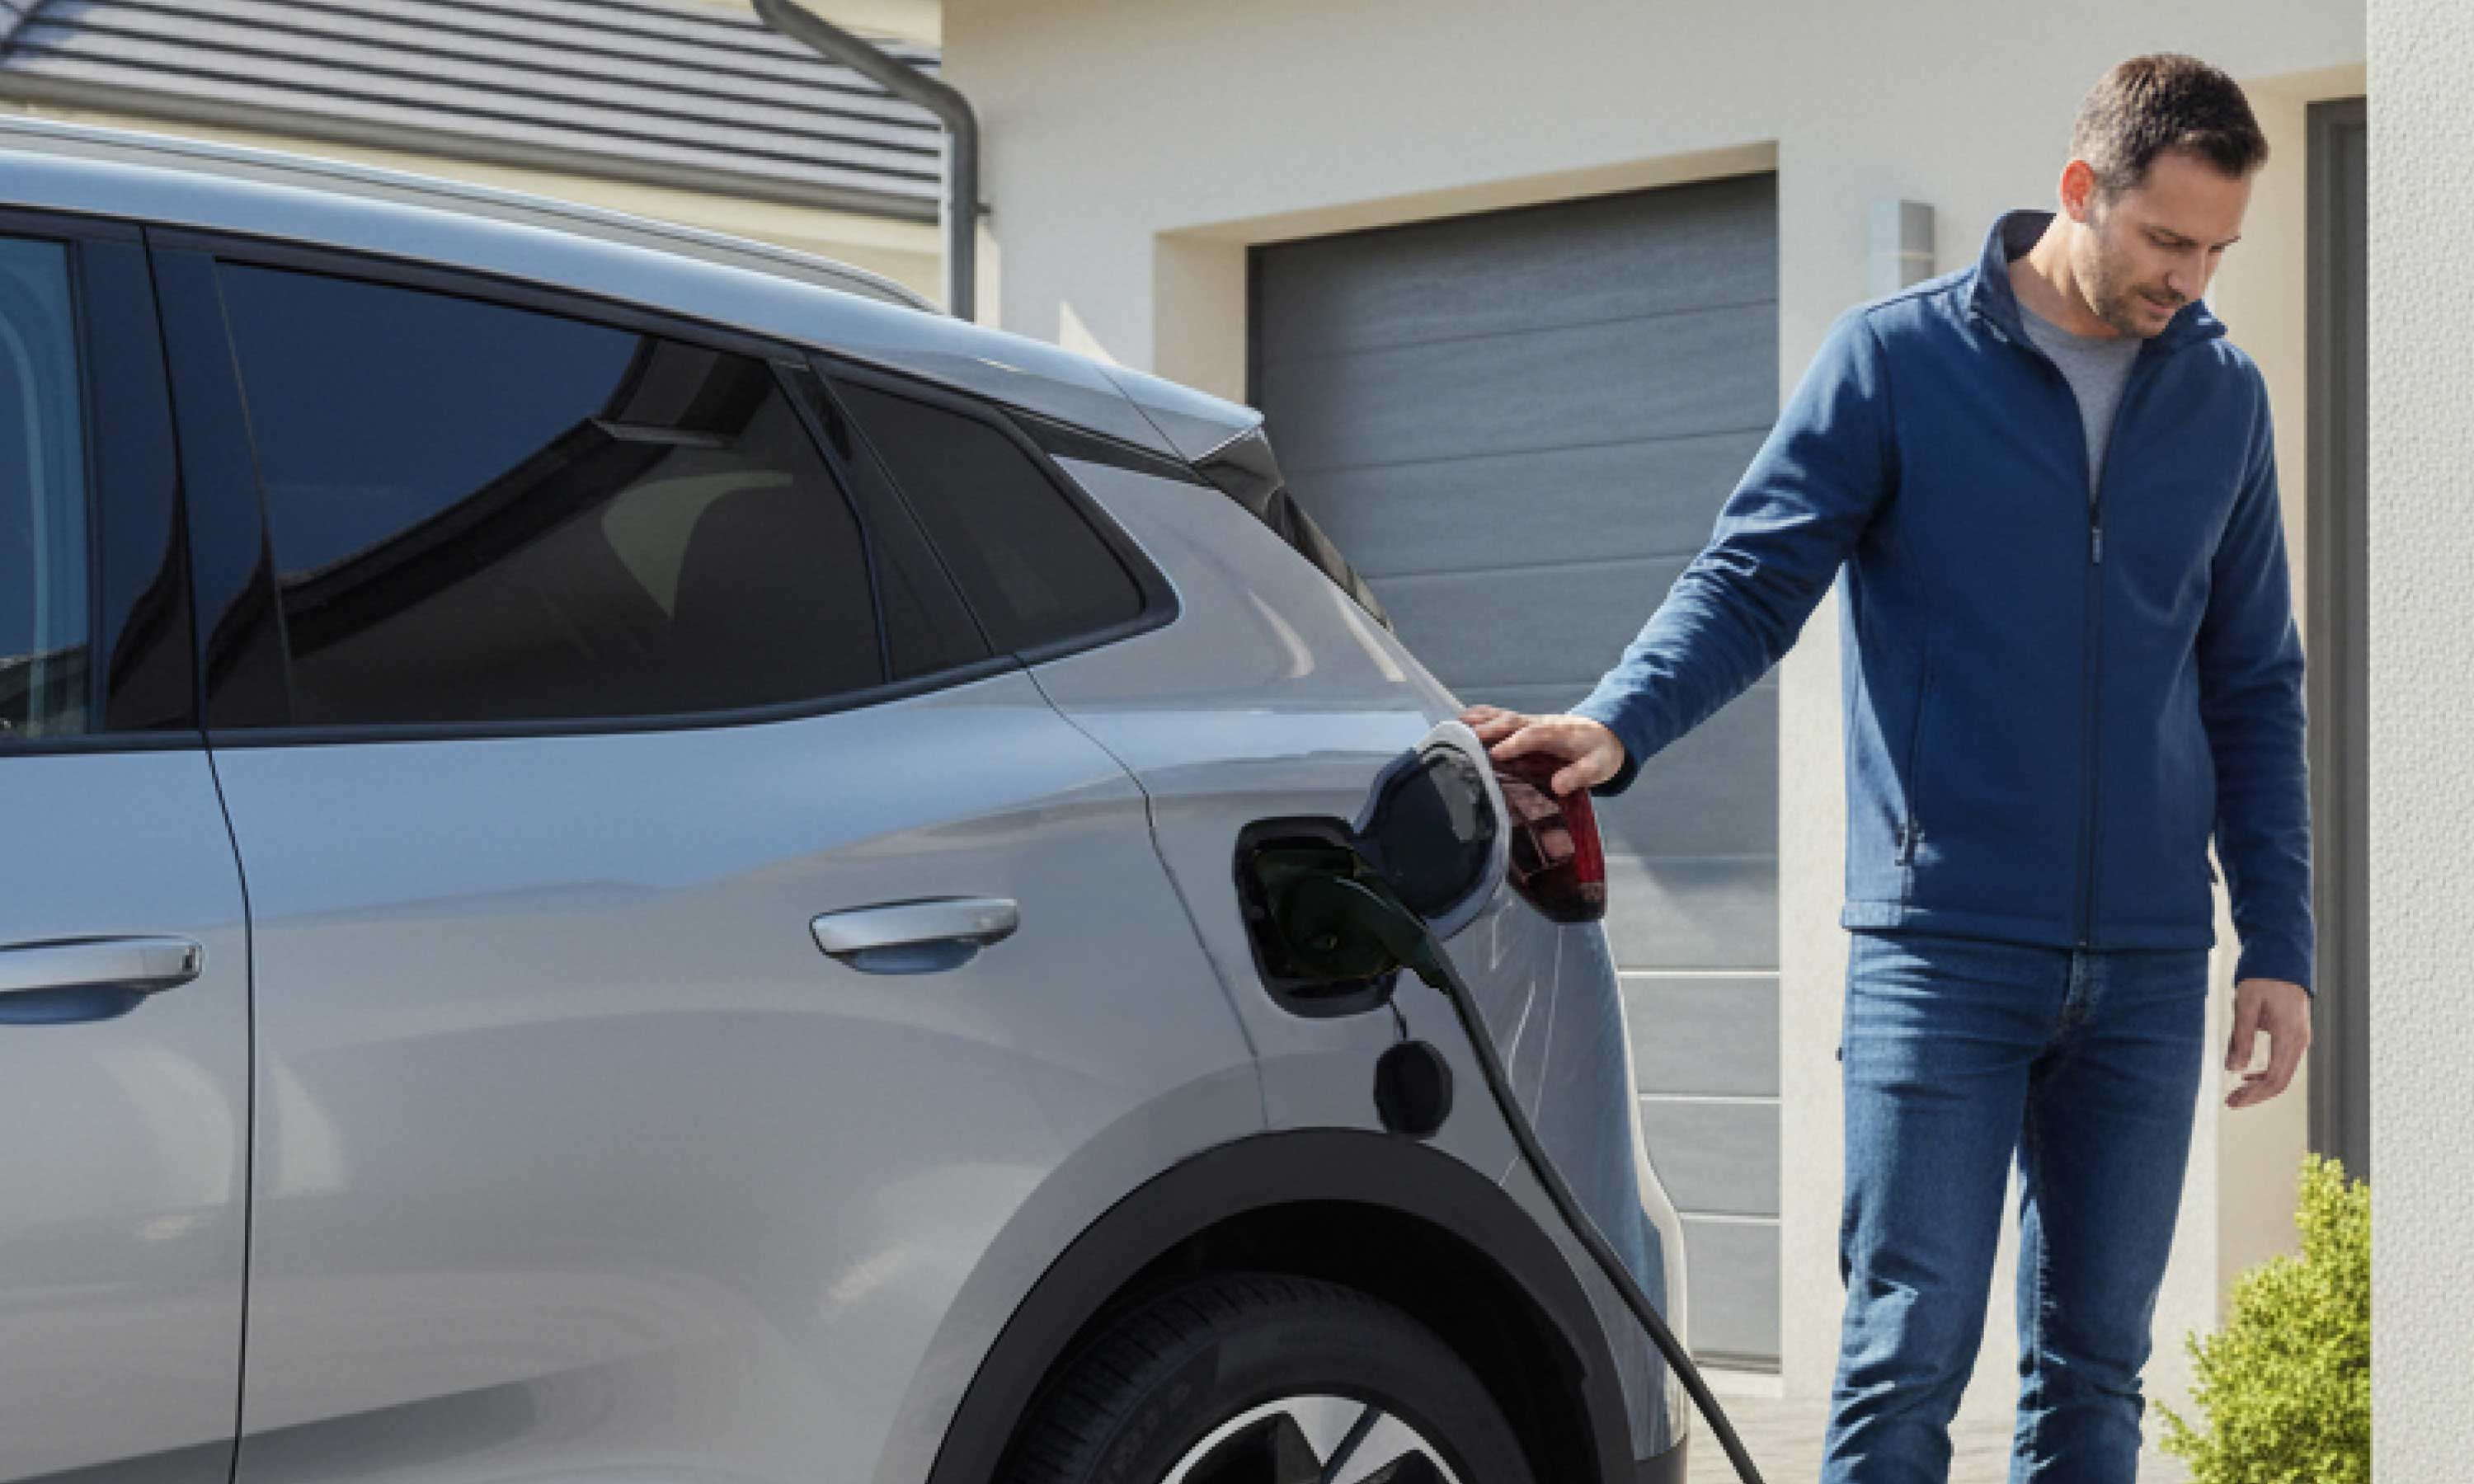
4. Test the charging station
Once the terminal is installed and connected to the manufacturer's mobile app, it is ready to use. It is recommended to perform a charging test with a compatible cable to ensure the installation is working properly.
- Plug in the vehicle and check that charging starts normally.
Make sure the mobile app detects the terminal and displays the charging information. - Check that there is no abnormal heating of the cables and connections.
- Make sure the charger is working without interruption. Check that no power outages occur while using other electrical devices.
Installing a home charging station requires advanced electrical knowledge. The process is similar for all charging station manufacturers. There will be some subtleties depending on your existing electrical installation or whether you have solar panels. Having a professional install a charging point in a single-family home ensures safe and optimized charging.


Leave a comment